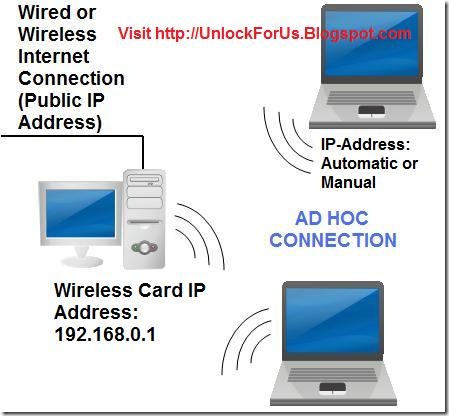
Based on my observation, an adhoc network is a wireless network connection without a central node. The network is dispersed which requires no base station (Router).
Using the Network Setup, devices such as PSP, Laptops, and other portable gaming consoles can search, share and link each other within range without using a router or a hub.
Advantage
-
Easy to setup: No additional Software is needed and It's FREE
-
Nowadays, By default Wi-fi or Wireless Card is included when you bought a computer especially in laptops. Even if it's not included USB type Wifi is now cheap.
-
Portability and Mobility
-
No more wires and additional devices such as hub and routers
Main Disadvantage
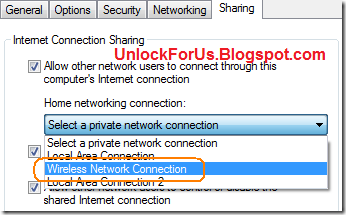
If you'll share or connect other computers and devices to the Internet. The computer that is connected to the Internet (Gateway) must always be turned on. Unlike using a router, you can turn off any computers in the network.
Read more: Internet Connection Sharing (ICS) in Ad Hoc Connection
Distance: Computers and devices in ad hoc connection must be within 30 feet of each other (although you can extend this by using a passive repeater by simply creating a parabolic antenna using a USB type Wi-fi and other types of antenna)
How to Create an Ad hoc Wireless Network (Automatic IP Address Configuration)
Windows Vista
1. Launching Setup a Network or connection Window
Choose "Set up a wireless ad hoc (computer-to-computer) network Set up a temporary network for sharing files or an Internet connection"
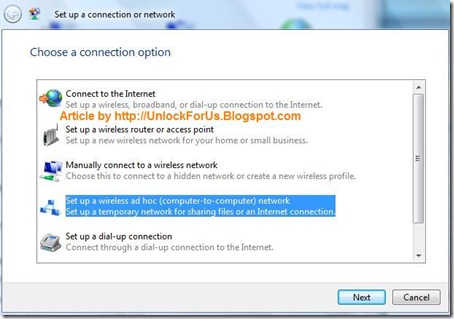
There are several ways to access this Window, here they are:
a. Right-Click the Wireless Network Icon in the Taskbar's Notification Area > Connect to a Network > At the Bottom, Click the Setup a Connection or Network
b. Right-Click the Wireless Network Icon from the Notification Are > Network and Sharing Center > In the Left Pane, choose Setup a Connection or Network link
c. Start Menu > Connect To Button > At the Bottom, Click the Setup a Connection or Network link
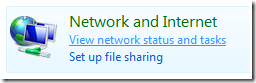
d. Using the New Control Panel View: Start Menu > Control Panel > View network status and tasks > In the Left Pane, choose Setup a Connection or Network link
Using the Classic Control Panel View: Start Menu > Control Panel > Network and Sharing Center > In the Left Pane, choose Setup a Connection or Network link
2. Creating Ad hoc Network Window
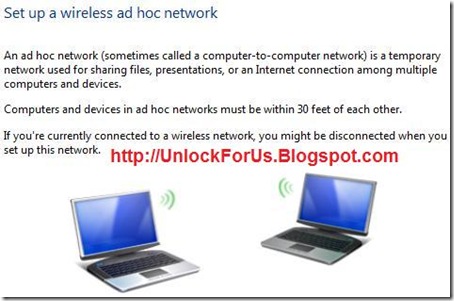
"Set up a wireless ad hoc network
An ad hoc network (sometimes called a computer-to-computer network) is a temporary network used for sharing files, presentations, or an Internet connection among multiple computers and devices.
Computers and devices in ad hoc networks must be within 30 feet of each other.
If you're currently Connected to a wireless network, you might be disconnected when you set up this network."
Click Next Button to Start Creating Ad hoc Network.
3. Write the Network Name, Password (Security Key) and other Security options (No authentication (Open)/WEP/WPA2-Personal)
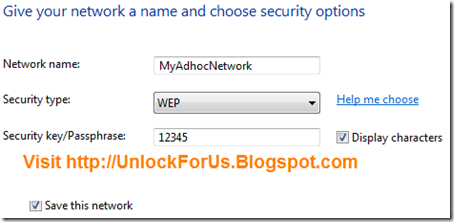
4. Click the Next Button to Create and Connect to the Network
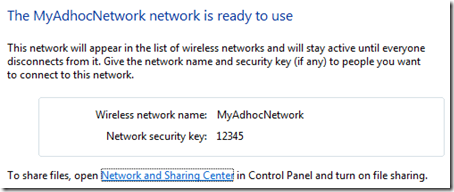
To be able to activate the Ad hoc Network that you have just created, more than 1 computers or devices must be connected to the network.
Setting up the IP-address in Vista/XP

1. From my previous tip: Open the Network Connections
type and launch the command: ncpa.cpl
or Control ncpa.cpl
2. Right-Click the Wireless Network Connection > Properties > Internet Protocol Version 4 (TCP/IPv4) > Properties Button > Select "Use the following IP address:"
Examples: Class C - Most Common Home Configuration
| Computer A | Computer B | Device C |
| 192.168.0.1 | 192.168.0.2 | 192.168.0.3 |
| 255.255.255.0 | 255.255.255.0 | 255.255.255.0 |
Range: 192.168.0.0 - 192.168.255.255
For more information: http://en.wikipedia.org/wiki/IP_address
To Connect: Right-Click the Wireless Icon > Connect to a Network > Find the name of the ad hoc Network > Click the Connect Button > Input the Passphrase or Security Key and finally Click the Connect Button again.
Windows XP
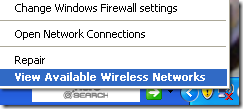
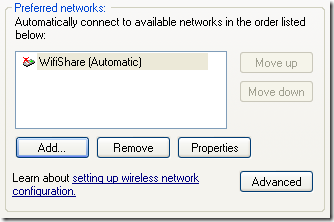
Right-Click the Wireless Network Icon > Choose View Network Wireless Networks
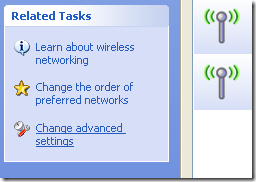
In the Left Pane > Click "Change advanced settings" link
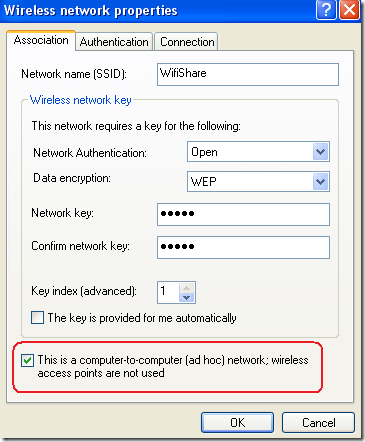
Make sure that you are using Windows to configure your wireless network settings and click the Add Button
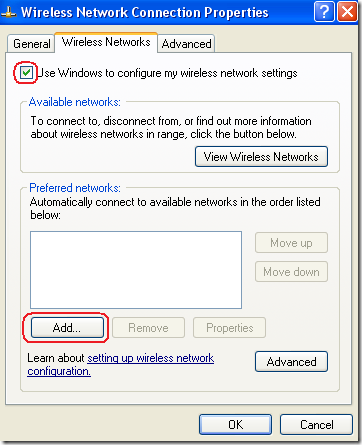
Enter the Network Name (SSID), Set the Network Authentication, Data Encryption, Network key and Choose the option "This is a computer-to-computer (ad hoc) network; wireless access points are not used.
Finished.
Enjoy!
Network Related Tips:
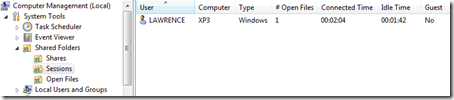
Simple Way to Monitor Opened Files in a Shared Folder Across the Network
[Help] How to Setup Broadband DSL Internet Connection in Windows Vista for a Single PC
Simple Ways to Tweak your Network and Internet Connections- Part 1
Simple Ways to Tweak your Network and Internet Connections- Part 2